 twitter
Our Repair Process Explained
Here is a step by step guide of a repair process carried out to repair large scratches and damage on a front bumper.
-
 1
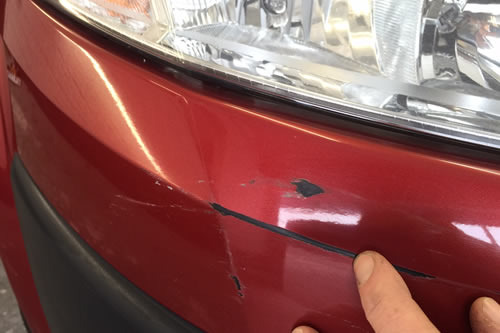
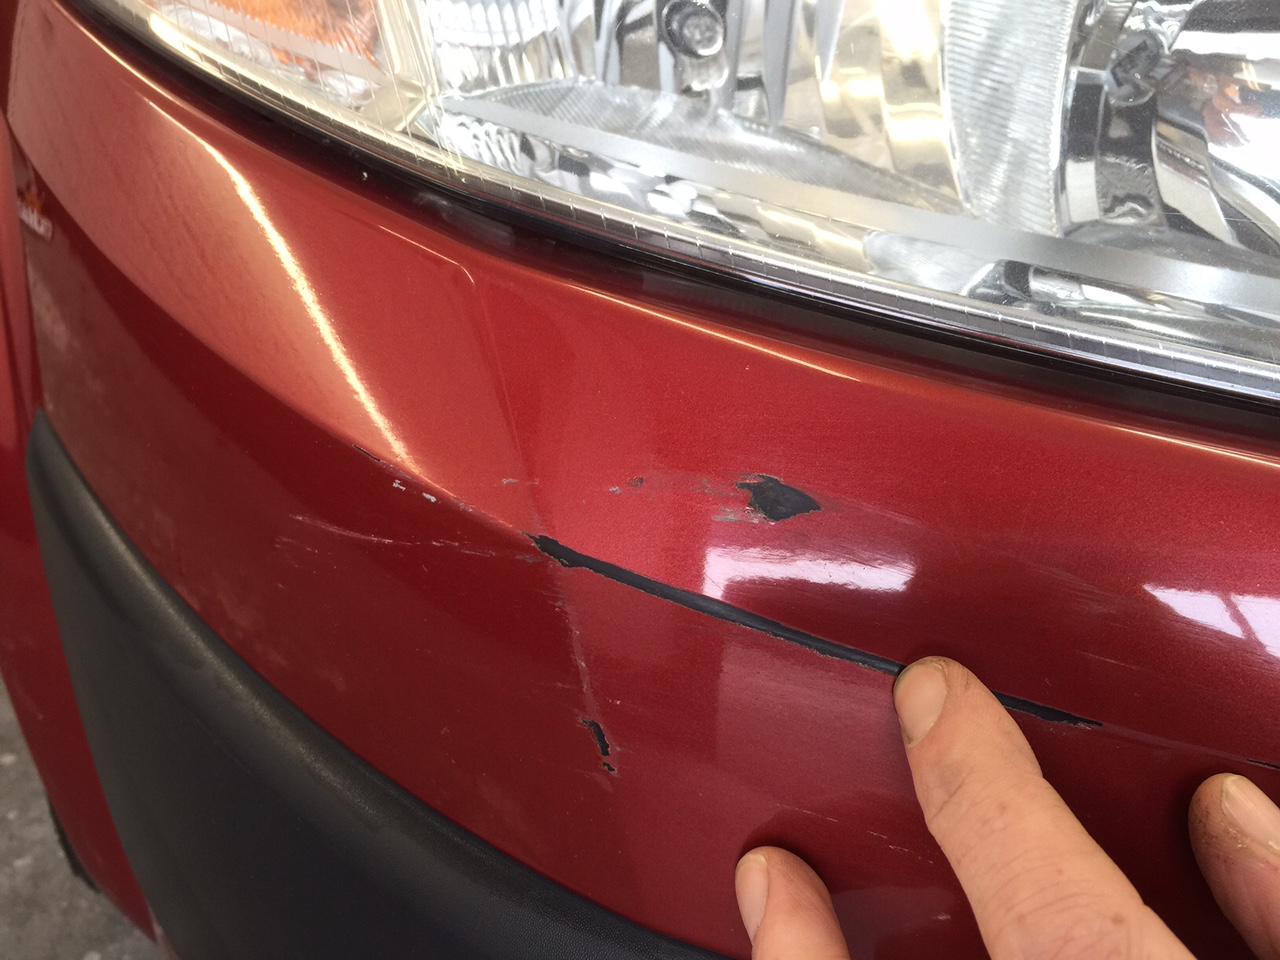
1check and asses the damage
The first step in our repair process is to check and asses the damage and to see what we need to complete the repair. I this example we have damage to the top and bottom of the offside bumper.
-
 2
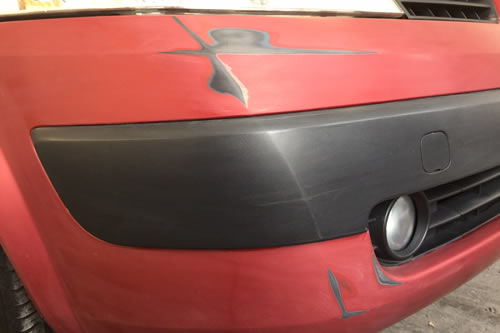
2sand down & apply filler
The next step in the repair process is to sand down the damage and if needed we would apply filler to any dents or deep gouges, no filler was needed in this repair so we move on to the next stage.
-
 3
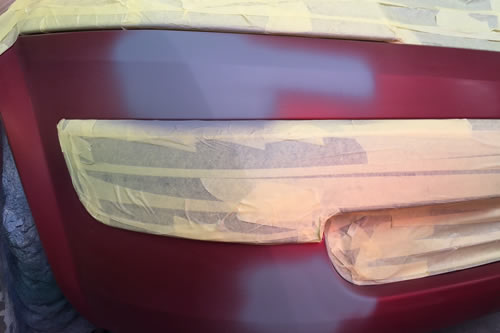
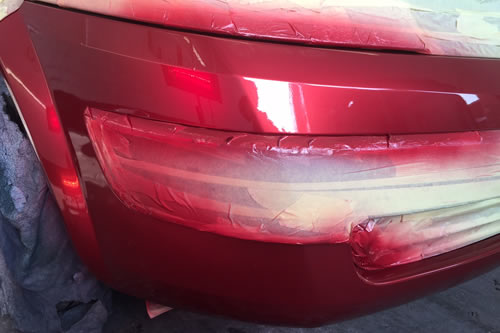
3clean and degrease
From here we clean and degrease the area fully and mask up those areas that we don't won't to paint and then apply the primer coat.
-
 4
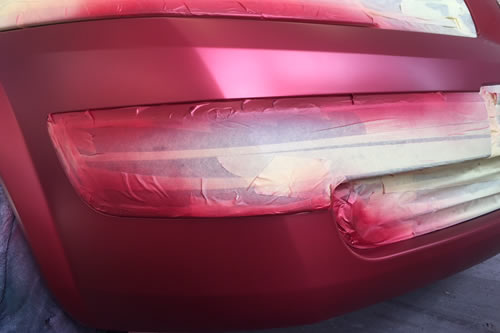
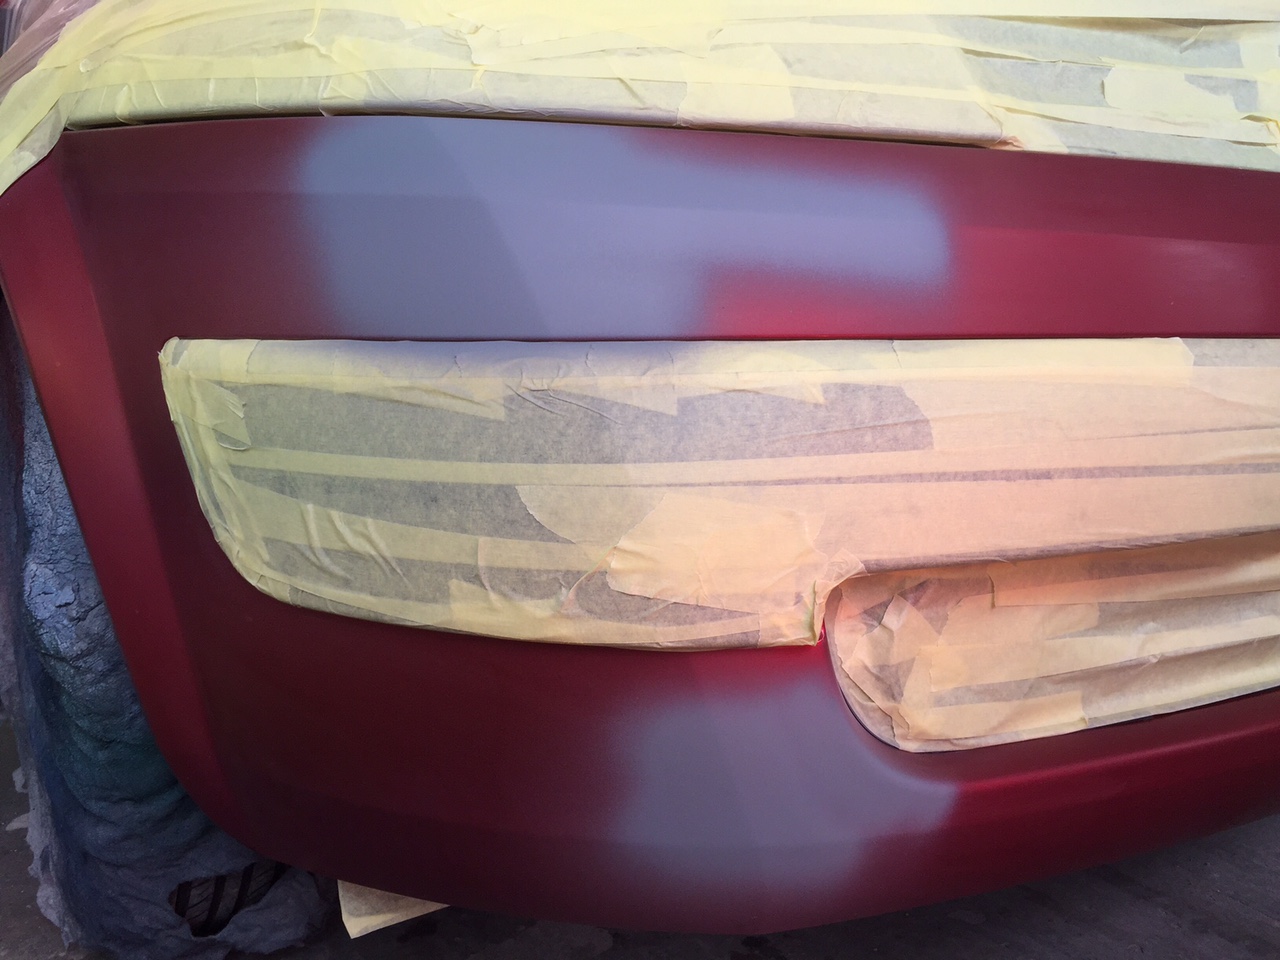
4prepare for base coat colour
The primer is dried using infra red dryers and then sanded smooth in preparation for the base coat colour. The next step involves mixing the colour from the information on the vehicles colour code and our paint mixing database and then applying the base coat..
-
 5
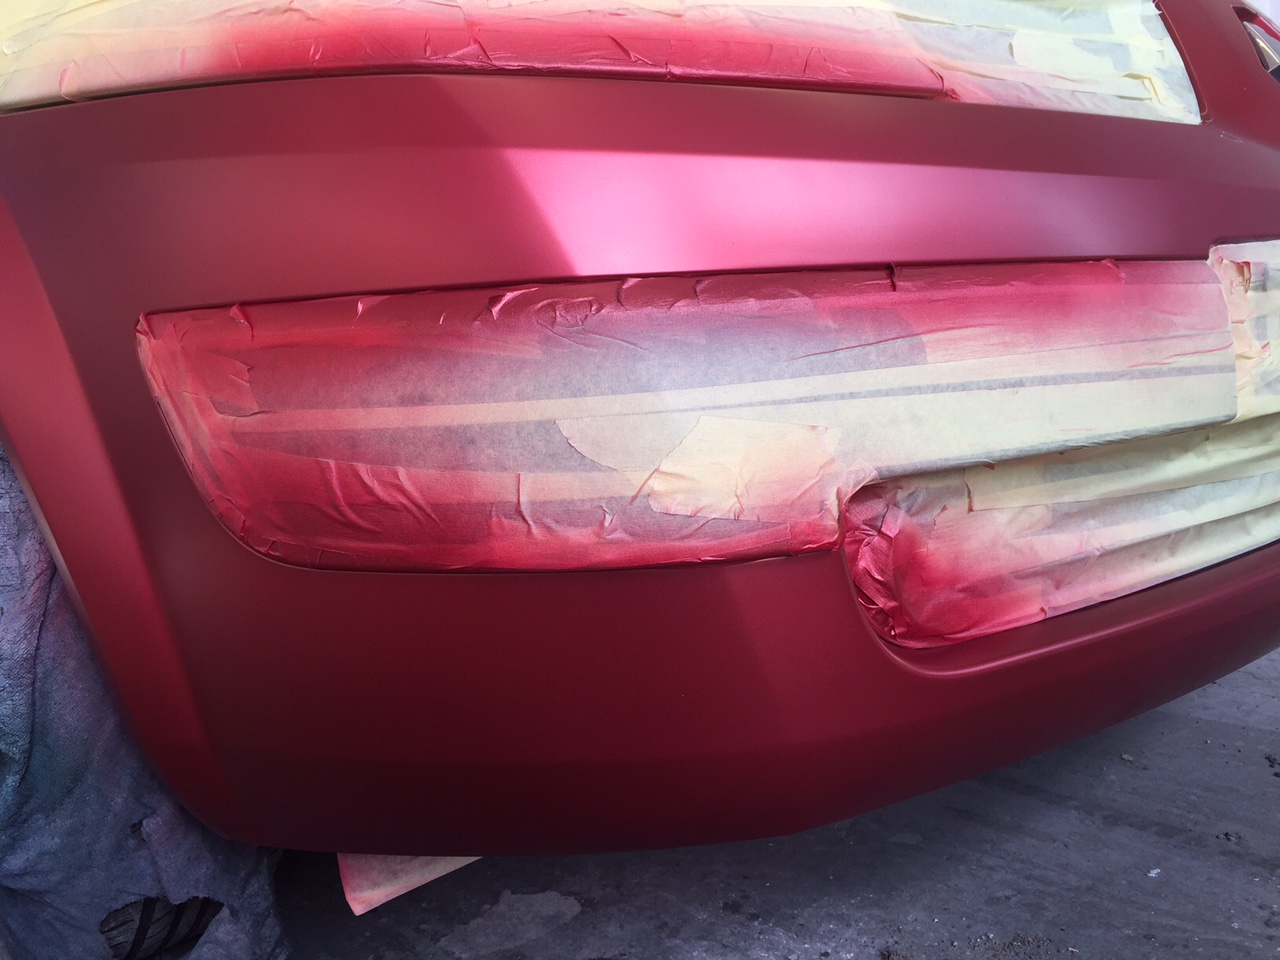
5apply lacquer coat
Once the base coat has fully dried we then apply the lacquer coat that gives the repair its final deep glossy look and seals and protects the paint finish.

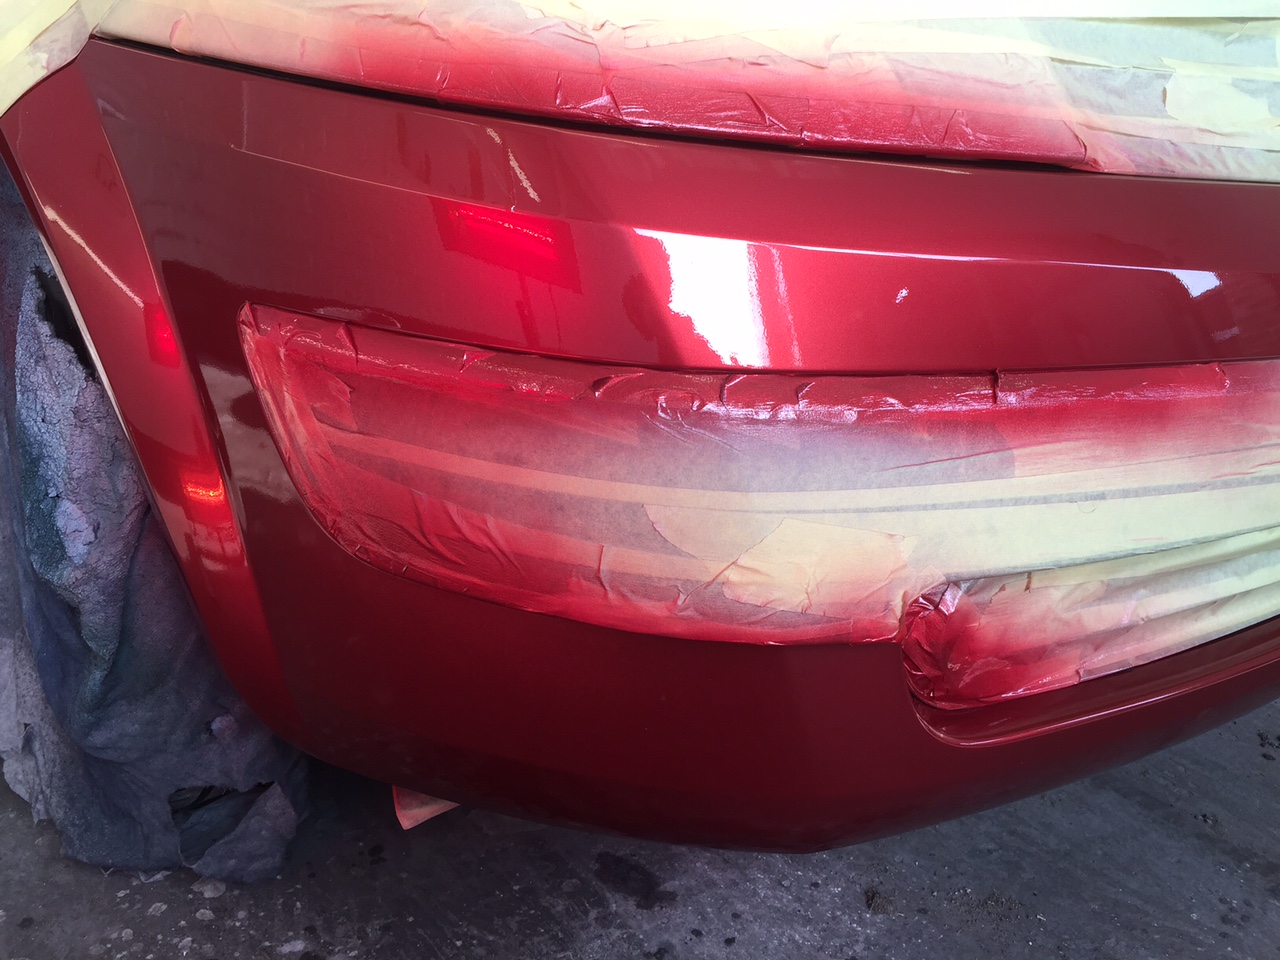
The Completed Repair Process
The Repair process is now fully complete.

